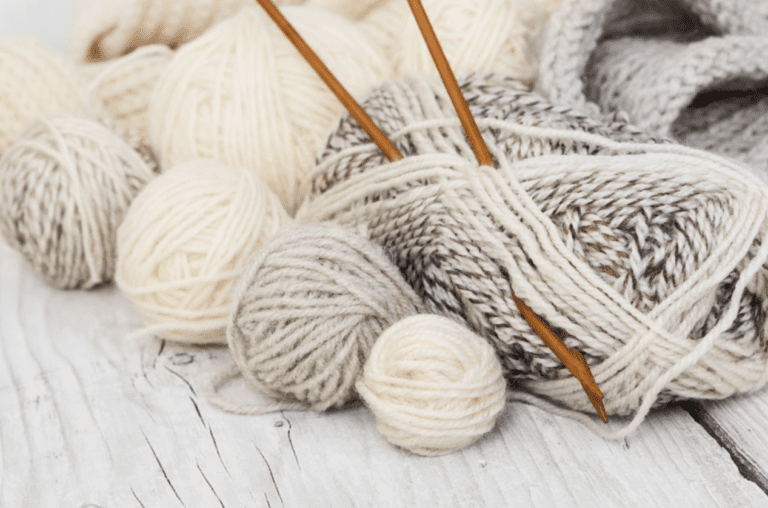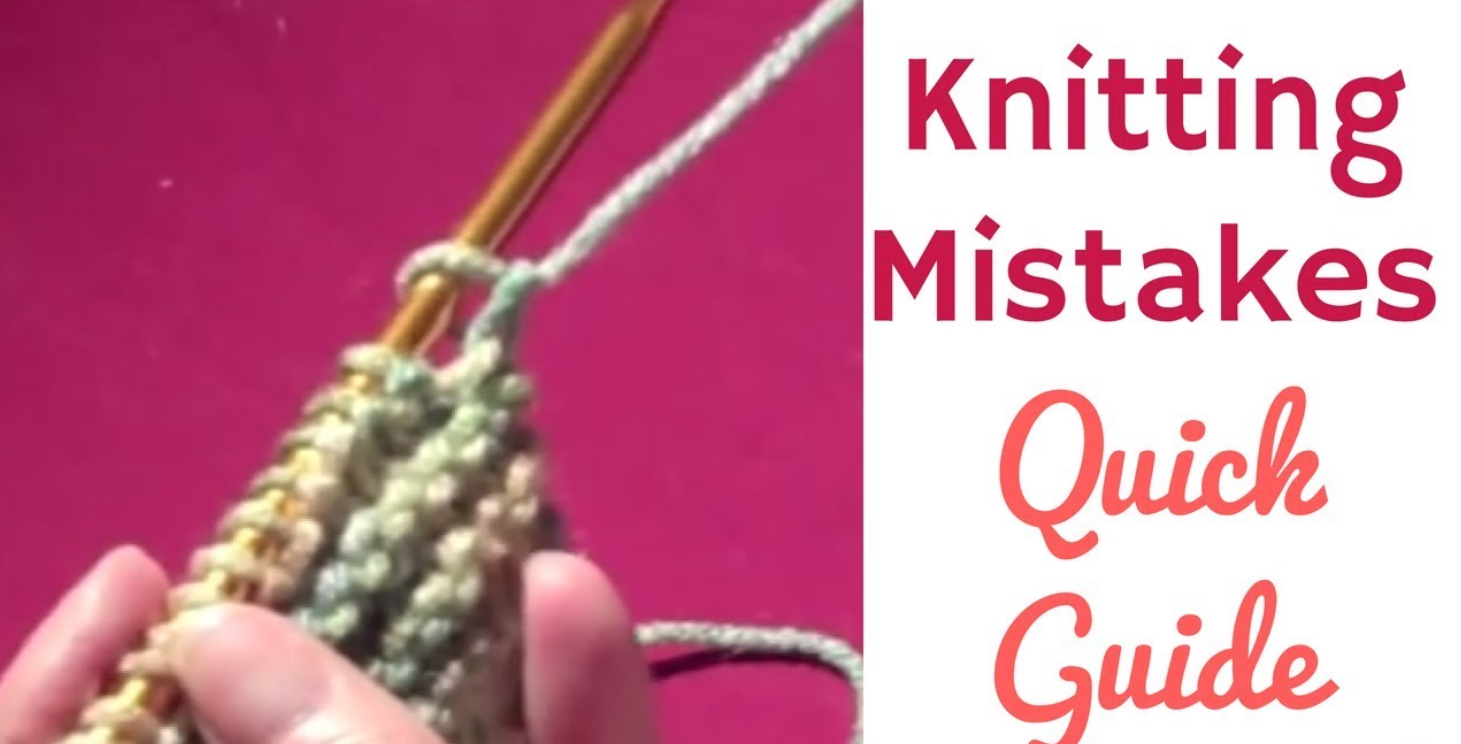
Common Knitting Mistakes Beginners Make (and Fix Them)
Below are some of the most common knitting mistakes that beginners make. The good news is that these mistakes are easy to fix.
With a few repair techniques under your belt, you should be able to identify and fix your mistakes with ease and confidence.
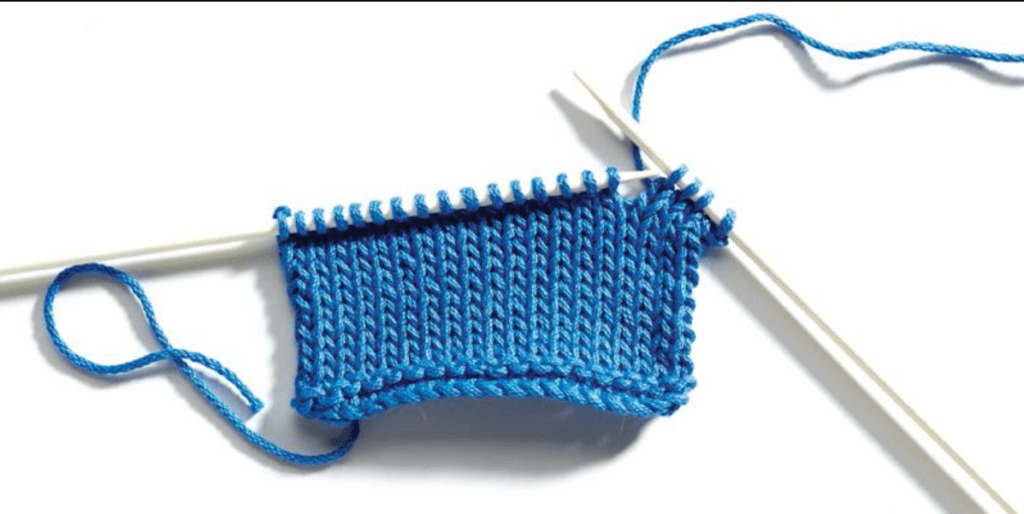
Mistake #1: You put your knitting in the middle of a row. Now you don’t know which direction you were going.
Solution: The working yarn (yarn attached to the ball), will hang from your last stitch. Make sure this stitch is on your right hand needle when you start.
Mistake #2: Your stitches are too tight. It is difficult to get them over the needle.
There could be several reasons for this:
- Reason #1: You may be making stitches on the tapered part of your needle.
Solution: Make sure to push your stitches back to the wider side of the needle every time you make a new stitch.
- Reason #2: You may be tightening each stitch as you work it by tugging on the yarn.
Solution: Stop doing it. Instead, hold your thread loosely, and each time you make a new stitch, gently raise the right needle to make it a little bigger
Reason #3: You may be holding your yarn tension too tightly. Are you wrapping the working yarn around your fingers?
Solution: Try to find a comfortable tension when you hold your yarn or try holding it more loosely in your palm
Tip: If you are using wooden needles, try using metal needles. The stitches will slip more easily.
Mistake #3: Your weave is getting wide at the edges (but you’re trying to be straight).
( or there are too many stitches; you have an extra stitch)
- Reason #1: You may have accidentally made the first stitch twice.
If you’re new to knitting, you may have accidentally added it at the beginning of a row. The first and/or last stitch of a row may be looser than the others and sometimes twisted around so that both legs of the stitch below it are closer to the needle. You will have worked the leg of the stitch under the first stitch as it has been twisted around the needle.
Solution: You have 3 options:
If it’s on an edge that will be sewn into the seam later, you can trim it down again as you see. Place a waste thread marker where you had an extra stitch, and take an extra stitch into the seam allowance at that point as you sew the fabric.
If it bothers you to leave it there, you can drop another stitch from the needle and open it at the point where the unintended addition was made. Redistribute the excess yarn into adjacent stitches. The selvage stitching will likely be loose here.
Open your knitting up to the point where the mistake was made and continue from there.
- Reason #2: You may have separated a stitch while knitting it in, making it look like two stitches.
Solution: If it’s on the same row or the bottom two rows, you can separate the stitch and make it again as one.
- Reason #3: You may have accidentally spun the yarn (by wrapping the yarn around the needle to make another stitch).
Solution: Untie the thread from the top of the yarn and unwind the yarn from the needle.
Mistake #4: You’ve dropped a stitch.
Solution: If you’ve just dropped a stitch, pinch just below the stitch to prevent it from unraveling. Insert the tip of the left-hand needle into the dropped stitch from the front and pull it back.
Solution #2: If it’s already opened, there will be a loose strand above the stitch. Before putting the dropped stitch back on the needle, you need to make up this strand again.
The easiest way to do this is with a crochet hook.
Be careful not to stretch your fabric too much (this will cause it to open more)…
- Insert the crochet hook into the dropped stitch from the front (make sure the strand is behind the stitch).
- Grab the ladder strap
- Pull it back through the stitch to the front.
- Repeat steps 1-3 until all the ladder straps have been rebuilt.
- Place it on the left hand needle.
Note: To pick up a dropped purl stitch, follow the steps above, but insert the hook from the back. Make sure the strand is facing the stitch.
It’s important to learn how to fix dropped stitches because it’s going to happen a lot! Here are some helpful videos to help you understand the process – courtesy of the wonderful Michelle Hunter and Liat Giat
Mistake #5: Your weave looks uneven and “messy.”
- The reason: You may not be holding the tension of your working yarn consistently. Some stitches will be loose and some will be tight, making your knitting look uneven.
Solution: If you’re new to knitting, this is a common problem that will get better with practice. The key is to find a comfortable and consistent way to hold your yarn. Washing and blocking your work can also help finish your knitting.
Mistake #6: You’re starting a new row, but the yarn is attached to the second stitch instead of the first.
Cause: When you worked the last stitch of the previous row, the yarn somehow slipped and was never pulled up to make a new stitch.
Solution: Turn your work as if you were finishing the last row. Slip the last stitch onto the left needle, and work it again. You can now turn your work around and start a new row.
Mistake #7: Some of your stitches overlap with other stitches.
- Cause #1: Incomplete stitch: You’ve inserted your needle into a stitch and wrapped the yarn around the yarn, but you’ve pulled the old stitch off the left needle without pulling the new stitch. Both the old stitch and the new stitch are on your right needle.
Solution: Slip the middle stitches onto the left needle or open the middle stitches and place them back on the left needle. Knit it again, making sure you complete the new stitch.
- Cause #2: Incorrect insertion: You put the needle in the stitch a little lower than you, catching the stitch in the bottom row. When you pulled up the new stitch, you pulled out of the right place, leaving the stitch from the bottom row with the new stitch on your needle.
Solution: Knit across your needle by mistake. Slip the double stitch and open the stitch. You need to pick up the dropped stitch* from two rows back up with the crochet hook and put it back on the needle
- Cause #3: Wrong exit: You started the stitch correctly, but when you pulled the new stitch through the old one, you accidentally went too far down and picked up the stitch from the bottom row. Now both the new stitch and one of the bottom rows are on your right needle.
Solution: Knit across your needle by mistake. Slip the double stitch and open the stitch. You will need to pick up the dropped stitch* and put it back on the needle *
Mistake #8: Your Knitting Has Holes (And You Are Not Sure Why!?)
- Cause #1: Accidental yarn loss. Either way, you’ve created an extra wrap or yarn on the needle, creating a large hole. This can happen if you try to sew while the thread is in front.
Solution: To avoid accidental yarn overs, make sure the yarn is backward when you knit. When you purl the stitch, make sure the yarn is in the front.
To fix an accidental thread, untie the thread that was connected by mistake. Continue knitting as usual.
- Cause #2: Error while working M1 stitch. When you extend M1 (pick up the bar between two stitches and tie it off), you may be knitting across the front of the stitch, creating a large hole.
Solution: When you extend M1, make sure to knit in the back loop to reduce the size of the hole.
- Reason #3: Picking up mid-row and restarting in the wrong direction
Solution: Avoid under laying the middle row of your knitting. If you complete your rows in one sitting, your knitting will look neater.
Of course, this is not always possible. So, when you pick up your knitting after placing it in the middle row, make sure the working yarn is connected to the last stitch on the right needle.
Oh, there you have it!
The most common knitting mistakes beginners make (and how to avoid them in the future!)
When you’re just learning, mistakes are inevitable. But don’t give up!
Go back and identify where you went wrong and see if you can fix the problem.
In the process, you’ll learn a lot about your knitting and be able to avoid these mistakes altogether!
A massive list of frequent knitting mistakes and how to fix them –
Are you a beginner and now you are wondering about common knitting mistakes you might not even realize you are making? Or have you noticed something that doesn’t seem right in your knitting and now you want to know how to correct a mistake? Let’s dive right into it, and show how you how to fix knitting mistakes, eh? But make sure to read all the way to the end because there are some juicy tips further down below!
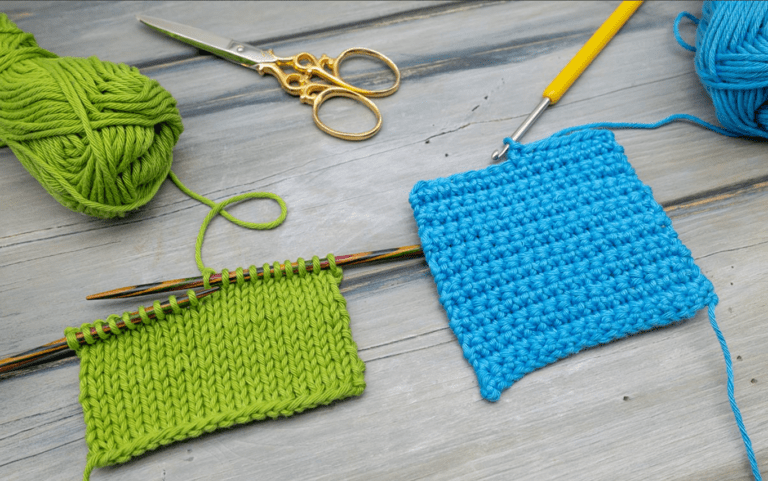
#1 Drop stitch
The most common mistake that beginners fear is probably the dropped stitch. Often, they think they have to unpack the entire project and start over. But this is not quite true. You can easily fix such a mistake with a crochet hook.
How to fix a Dropped Pearl Stitch In Knitting
It’s super easy and works for both knit and purl stitches. For the latter, it’s a bit easier if you do it from the wrong side. And if a stitch only opens one row, you can actually pick it up on the left needle and use the strand in the back to make it up again.
#2 Be flexible and flexible.
Another very common beginner’s mistake is knitting too tightly. Now, I totally understand it. Everything is new to you, and your hand/brain still has to get used to the movements. Yet, most beginners grasp these needles as if their lives depended on them.
Rest is very important. These needles should rest quite lightly in your hands. Except perhaps for this first row, the knit fabric will support and secure the live stitches perfectly. So what can you do when every next stitch feels too tight to enter?
- Remember to take frequent breaks to prevent pain.
- Practice stitching at a slow pace making sure you pull each stitch over the working yarn and tighten gently but not so much that you want to tie a knot.
- Consider improving your stress management. You may need to wrap the yarn around your pinky/index finger one more time or one less time (or save it anyway).
- A good night’s sleep will help your brain and muscles practice the new techniques you’ve learned.
- Be patient. Practice will make you feel more comfortable with your needles and yarn. And at some point, it will feel like a natural extension of your arms.
Also, keep in mind that the yarn you pick will have a big impact on the tightness of your weave. The fuzzier the thread and the more friction it has, the looser and more comfortable it should be, and vice versa. For example, I usually wrap the yarn around my pinky finger and stretch it twice, but for some fuzzy yarns, I only do this once while for some super silky yarns I sometimes I do it 3 times.
#3 Toasted Pearl Status
A very common beginner problem concerns purl stitches. Any textbook will tell you to wrap the yarn counterclockwise around the yarn. This is the golden rule for every stitch. Yet, I often see people doing it clockwise instead. This is probably due to the fact that it is actually easier to clean this way!
This will cause two major problems: First, it will be very difficult to knit across these stitches in the next row and they will feel very tight. And then, when you do that, you end up with a row of twisted stitches. This is usually not the desired effect and it’s really important that you fix it as soon as possible if you don’t like the way it looks.
Note: This can happen when you drop a stitch and you don’t put it on the needle correctly. Any normal stitch should be placed on your needle with the left leg of the loop at the back and the right leg at the front.
#4 Castings are Tough.
Is your knitting getting wider and wider without making any additions? Or you finished the hat but the brim is not long enough to fit it on your head? A frequent culprit is a cast-on technique that is too tight for your knitting pattern. As a beginner, you often start with just one method to begin your knitting. And that’s totally fine.
Still, you need to remember that different knit stitch patterns (garter stitch, stockinette stitch, etc.) will have more or less. An experienced knitter will say they have a different gauge. Ribbing is very stretchy while star stitch can be very stiff. And you need to adjust your cast-on accordingly.
As a beginner, the easiest way to adjust a cast-on (or bind-off for that matter) is to round it up by two needles or a size or two larger. Here is my complete tutorial on casting on knitting with two needles.
#5 Adding Yarn Ors
Another common mistake made by knitting beginners is accidentally adding yarn over. You probably don’t even know what a yarn over is, but because the technique is so simple, it’s very easy to accidentally make one. A yarn over is nothing more than a counterclockwise wrap around your needle. This is basically what will happen whenever the needles catch the yarn unintentionally. Here are some examples:
- Whenever you turn your work, the working yarn should stay below your work. If it stays on top, you can make an extra loop. Or pull the stitch down to create a double stitch.
- Whenever you switch from knitting to purl stitch and you bring the yarn forward, the yarn can get caught on the needle
- When you are knitting in the round, here too, the yarn can get caught and create a yarn over.
So, the golden rule to prevent this mistake and accidental yarn over is to always keep the working yarn under the needle whenever you turn things or you move to another knitting position.
#6 Note taking enough time to clean the yarn
Picking the right yarn is 50% of the work. Pick a bad yarn, and your entire project will never have a chance to shine. Pick the right yarn and it’s very easy to succeed.
It starts with simple mistakes like choosing 100% sheep wool yarn for socks that will require a more durable yarn to avoid holes but certainly don’t stop there. I know, in the age of indie yarn dyers and Instagram you’re exposed to beautiful colorways 24/7 that you just want to do. But in general, you should have a clear project in mind before you buy anything.
Make a short checklist and shop accordingly:
- Should your yarn be soft or durable?
- Should it be smooth or textured?
- Should it be mild or warm?
- Does it have to be machine washable?
- Something that shows complex patterns well or some self-patterning?
- Etc.
Here are two more important points that you also need to observe.
- Yarn can stretch dramatically after the first wash. So, when you plan to make a fitted sweater, always check how the swatch behaves when it first sees water. So often I see people knit a sweater that seems to fit perfectly on the needles – and then they wash it and block it and it’s 2 sizes too big and then they find ways to shrink it again. .
- If you’re knitting with multiple colors, especially indie yarn colors, be sure to check for color bleeding. Make your swatch with both colors and wash it thoroughly to avoid a disaster later.
#7 Being in a bad light
Note: I earn a small commission for purchases made through the links in this article.
A simple neck light for weaving on a table
This tip may sound trivial, but it’s not. I seriously think the biggest mistake you can make is building in bad lighting. The better you can see your stitches, the easier it will be to enter them. And not only does it speed up knitting, it also prevents mistakes. And if there really is a mistake, you’ll notice it right away. Also, bawling your eyes out for an hour non-stop isn’t actually very good.
I am almost always very close to the window. And whenever it’s dark, I use a wearable craft light. It was probably the best investment I ever made in knitting.
Note: Also, consider wearing your glasses while you’re building. This will help you see the stitches more clearly and will help prevent extra strain on your eyes (and possibly your brain trying to compensate for the constant poor eyesight).
#8 is not taking breaks.
I’m sure you’ve been there before. It’s 10 pm, and it’s already dark outside, you know you should actually go to bed, but you just want to make another row. And once that one row is gone, well… there’s room for another row, right? Finally, the end of this iteration has to be reached.
And it is such a bad habit for several reasons. First, the longer you go without a break, the less focused you become and this leads to mistakes. And then, when you try to fix those mistakes without a fresh mind, things often go awry. And trust me, I’m definitely not the only one who completely messed up the Beyond Redemption project 5 minutes before midnight.
Instead, whenever you find yourself thinking “just one more row,” force yourself to take a break and make it a habit.
Also for that matter, don’t hunch over the same chair or couch for hours non-stop. A good stretching or strengthening exercise for your arms is equally important. You may believe you don’t need it because you’re young and/or your hands don’t hurt even if you make 4 hours straight. But you have to understand that your hands don’t get worse overnight. It’s a gradual thing and it’s usually 10 times easier to prevent pain than to cure it. Once you develop carpal tunnel syndrome or tendonitis, you will be forced to stop knitting for weeks or sometimes months.
#9 Trusting Charts Or Patterns Too Much
When people want to learn how to knit socks, they often refer to a sock chart. But here’s the thing: most knitting charts are from a time when there was literally only one type of thread and needles available at your local yarn shop. In my youth here in Germany, they were eddy needles, and Regia sock yarn, and everyone knitted continentally. As a result, following these sock charts yields passable results.
The choices are plentiful these days. Everyone is knitting with different yarns, different needles, different techniques, etc. So how do you expect the chart to work when everyone is building with a different gauge? It just doesn’t work that way.
Even so, I often get questions like: How many stitches do I need for socks? Scarf, hat or blanket?
And the answer is always to tie a broom and try to meet the designer’s gauge. Or use the switch to calculate according to the measurements. If there’s no gauge and no measurements, that cast-on information is as useless as a wedding cake recipe with all the ingredients but no indication of how many ounces you need.
Note: As a beginner, and contrary to what I’ve said so far, you should also learn to trust patterns. So often I receive questions via email that point out errors that aren’t there, simply because the person hasn’t read the pattern correctly. So always take your time and if you’re not sure, ask a knitting friend (or in one of the many knitting forums).
#10 Notes Stopping Your Complete Work
When I started knitting, I didn’t really understand why every experienced knitter talked about blocking. I wanted to wear my finished item right away and not gently wash it, stretch it gently, put hundreds of pins on it, and let it dry overnight. Too much work and for what?
Well, if there’s one thing I regret it’s definitely not learning, or rather understanding, why you need to block your finished projects. In the photo below, you can see a little lace pattern before and after the blocking process. The difference should be so obvious that I don’t think I need to say more.
Blocking brings your projects into shape, and it will correct minor tension imbalances so that your overall knitting looks cleaner. Also, many threads actually contain wax oils and can be removed with a gentle wash. There is literally no harm that I can think of – other than if you overstretch or iron your finished work – or put it in the washing machine.
Note: If it’s a tubular item, try to cushion the edges so you don’t end up with visible fold lines, or use special sock blocking boards or sweater blocking boards.
#11 Hate To Weave In Ends
I can’t even begin to tell you how many times I read the following sentence: “Yeah, I finished that sweater a long time ago,I just need to knit in ends. But I hate knitting in ends.” Is”.Are you one of them? by the way…
First, I have a complete tutorial on how to tie ends here on my blog that will make the process a lot easier. But basically, it boils down to using fast tapestry needles that slide like butter on the wrong side or using special techniques where you don’t need to weave in the tail at all. Never wait weeks (or months) until you’ve cleaned things up and can finally wear what you’ve created with pride.
How to tie in ends – step by step
But the important thing is that you really need to get your act together. The weaving in the ends is part of the weaving. Like doing the dishes and taking out the garbage is part of cooking. Sure you may not enjoy it but that doesn’t mean you can avoid doing it.
Besides, a tapestry needle is still a needle. I mean no one is asking you how to work with a chain saw or fire a crossbow. It’s a needle and you stitch. The sooner you work on this mindset, the better. A tapestry needle is one of the many types of needles you need to have and use in your knitting arsenal, this is part of it. Just like crochet hooks, double pointed needles, cable needles, and circular needles. And it’s not easier, harder or less fun to use. This is using a needle to pass through the loops and yarn.
12. Improper use of knitting patterns
First, one of the worst knitting mistakes is not keeping track of your progress. Cross out the parts you’ve already finished, place your pattern under a clear sheet of paper if you want to reuse it, or make yourself a simple visor/viewfinder out of cardboard so that, whenever you If you have to interrupt your knitting, you will know exactly how to continue when you return.
And in that context, learn to read your knitting. This is an important skill that will make your entire knitting experience much smoother. Plus, it will put you in a position to notice mistakes in the first place.
Also, always be sure to read a pattern to the end. Make sure you have all the materials, test new techniques on a small change, and of course, make sure you don’t miss any options or alternatives. There’s nothing worse than buttoning up a raglan sweater only to realize at the hem that you should have inserted those breast darts to accommodate your wider bust.
And of course, always note any changes and yarn choices so you can easily replicate the results in the future if you want to revisit a pattern.
13. Being afraid to Unravel
The project can be so liberating if it’s a work in progress that’s been sitting in your project bag for a year or more. You know it, I know it, you won’t finish it anymore and if you wanted to, you wouldn’t even know how to continue anyway. Unpacking these unfinished items will take the burden off you and free up yarn for future projects that will bring you joy.
And this also applies to the entire weaving process. Your first sock, your first sweater, and your first glove, may not fit perfectly. Nothing against keeping them if they’re just minor mistakes, but there’s nothing wrong with reusing the yarn. Just make sure to wash the crimp before getting rid of it.
Openings should be viewed as part of the process. Even if you draw a pattern perfectly, things can go wrong and that’s fine, and then you partially open it, use lifelines, and part or the whole thing. Rework until you are satisfied and happy with it.
Just like you would rewrite before sending an email, change or add ingredients or spices to a recipe you’ve tried, and so on and so forth. Embrace it and use it as a tool!
14 Checking your work in progress or trying it on
I already talked about taking breaks. But it’s equally important to check your work frequently. For each pair of rows, take a minute or two and check what you’ve made. If the error is only 1 or 2 rows down instead of 20, it is very easy to fix.
And so, remember to try to keep up with your work. If you’re not working with circular needles, cast your stitches on a piece of scrap yarn, and compare the sweater parts to something you’ve made before or is part of your closet. You can even use pins and sew the pieces together temporarily. You should never wait until the end before trying something.
15. Note: Talking about your projects and yarn is your way.
Always follow the washing instructions. In fact, if you are making socks, you can use labels to store them. There’s nothing worse than ruining a handmade fabric in the washing machine (and for that matter, learning to read the yarn label). If it’s a gift, definitely pass it on with them. Some yarn companies even offer small labels that you can sew into the finished work with washing instructions.
Also, don’t hang your handmade sweaters on hangers, where they will stretch.
And when it comes to yarn, keep it in airtight boxes (I buy them here on Amazon). This will not only keep bugs away. It is also safe from pets, children, or an unsuspecting partner. And keep those yarn boxes out of the sun. Especially (but not exclusively) plant-based dyes cause many colors to lose their vibrancy when exposed to direct sunlight for long periods of time.
16. Picking the Wrong Knitting Stitch Pattern (Curling)
Probably one of the biggest beginner mistakes is picking the wrong knitting stitch pattern for a project. Many knitters start a scarf in stock in ette stitch, only to find that it curls sideways
While I have a full tutorial on how to maintain a knit by curling the edges, often the easiest solution is to pick a different pattern. So, before you start a project, make sure you know what type of fabric the pattern produces. Sometimes you need some stretch (like for the hem of a sock or hat), sometimes you need some texture (like a dishcloth in moss stitch), and so on.
Drop stitch
Don’t panic. It happens all the time. A stitch will fall out of your bag, slip when you put down your knitting or clog the end of your needle when you’re not paying attention. Sometimes it will work deep into fabric, but still good news: it’s true!
It is also easy to hold. Check your fabric regularly for any unusual hanging stitches or empty stair rows. Count your stitches regularly to make sure your stitch count isn’t running low. Always stop knitting when you reach the end of the row. Stuffing your knitting into the middle row in your project bag is a surefire way to lose some stitches.
Fixing the problem is easier than you think. When you look at your work, the dropped stitch will be hanging awkwardly at the bottom of what looks like a series of stairs. These ladder threads are the yarn worked from each row that came out of that dropped stitch. We’ll pull this lost stitch back up the ladder stitch, recreating a stitch on each row or every row.
Begin by using your left hand needle to pick up the last stitch you see. The right hand (“leg”) of the stitch should be in front of the needle. The stitch that was dropped from the rows of ladder working thread will hang over it.
Next, insert your lift hand needle under the lowest stair ring.
Now you should place the beta stitch and working yarn (ladder ring) from the top row and drop the stitch onto your needle.
Insert your right-hand needle into the dropped stitch and pull it over the edge of the first step on your needle. Just like that, you’ve picked up a stitch for a row! Now repeat. Place your left-hand needle under the next available ladder and repeat the above steps to recreate the stitch for that row.