How to design your own knitting patterns
Are you interested in making knitting patterns but don’t have a clue where to start? Make yourself comfortable: let me start you with my tutorial series on how to make knitting patterns.
This article series covers everything you need to make your own knitting patterns in 16 parts: from choosing yarn and pattern categories to formatting issues, usability, testing your pattern, good How to take pictures, pattern templates, and finally publishing your knitting patterns. .
Method 1:
Choosing a Project
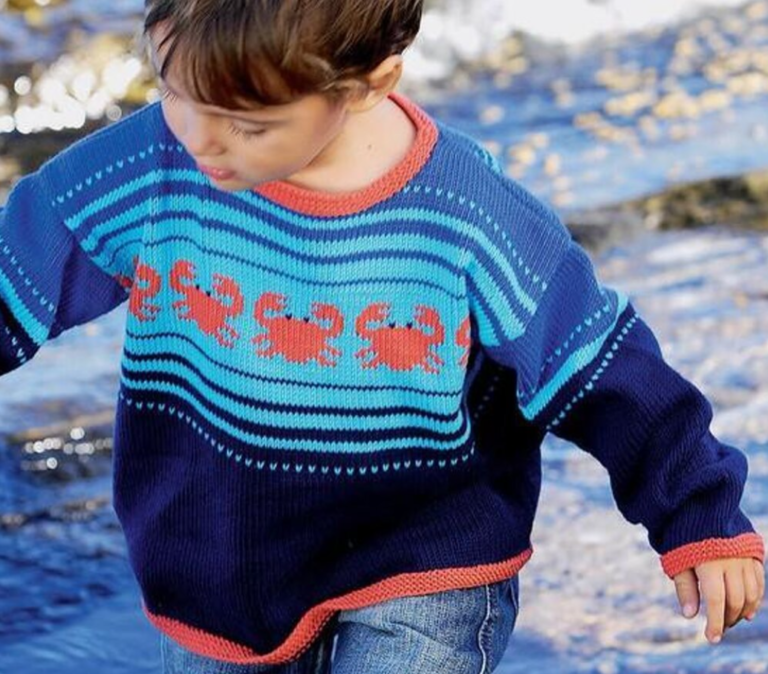
- Choose an item on which to base your pattern. Decide what your project will be, such as a scarf, sweater, hat, blanket, or any other project you can think of. It is important to decide what your item will be so that you can focus on planning a pattern designed just for it.
For example, you can find knitting projects or patterns on Pinterest.
If you’re still not sure what you want to be, look for inspiration in magazines or online
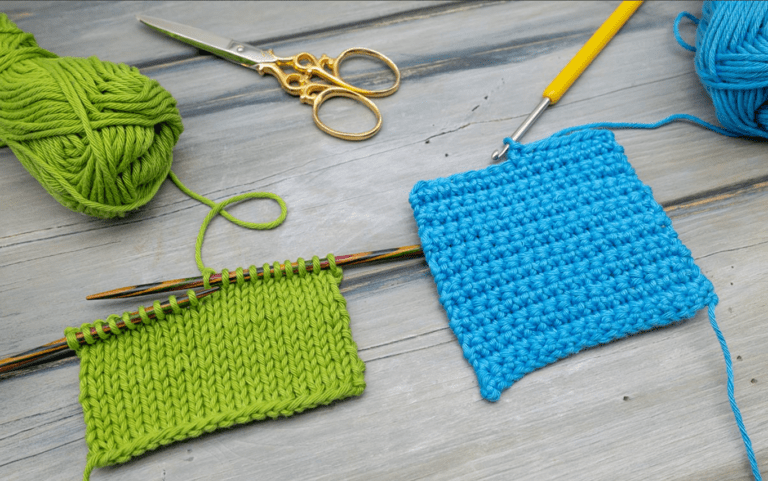
- Choose the yarn that’s right for your project. Choose a thread that fits your project and makes sense for the object you are designing. For example, if you are making a winter hat, you want a thick, warm yarn. If you’re making a summer shawl, you’ll want to choose a lightweight yarn in a color like white, yellow, or bright pink.
Yarns come in many different textures, from very soft to very stiff.
- Make sure the type of yarn you use for your project is machine washable if needed.
Draw a quick sketch to help visualize your idea. Get out a pencil and paper and start sketching out your idea, both how it will look in its final form and some ideas for stitches you’d like to use. This will help you brainstorm and create a rough pattern.
For example, you can outline your project first and then fill it in with more specific details and stitches.
You can also sketch several different pattern options.
- Write down the planned measurements of your project. Decide how many inches or centimeters you want your project to be, even if it’s just an estimate. Use a measuring tape to help decide and write down the dimensions on a piece of paper for later reference. This will help you figure out how many rows and stitches you will need for your project.
For example, you can decide how long you want the scarf to be or what size shirt you want to be.
Method 2:
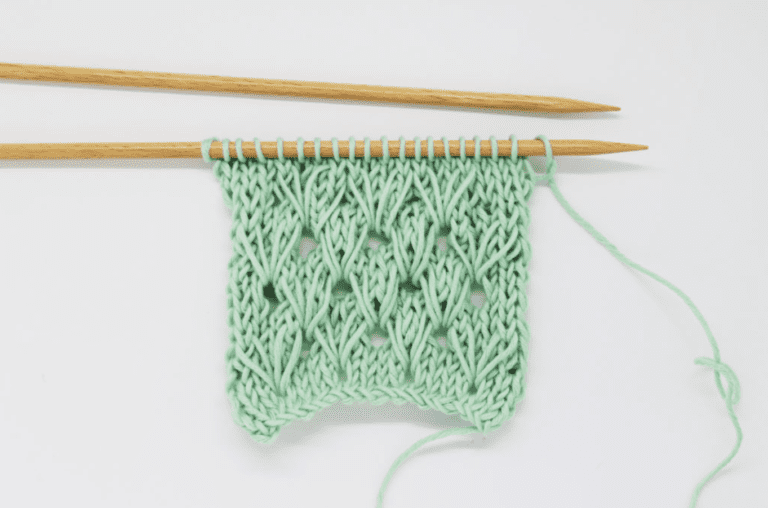
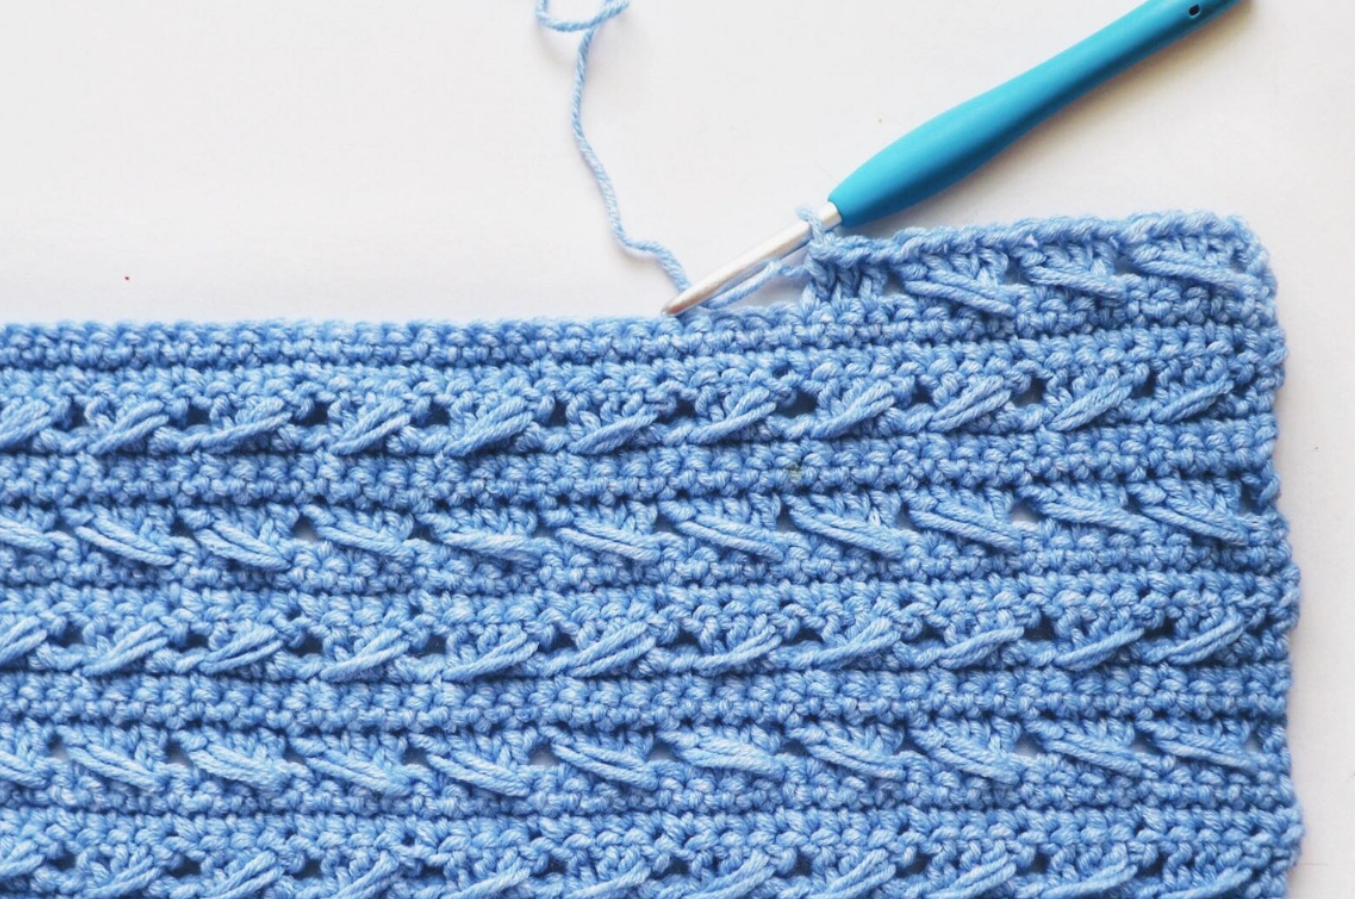
- Knitted swatches to test your pattern ideas. Make two swatches: one made of all regular stitches to give you an idea of size, and another to help you test your specific pattern. A swatch is a small sample of your project that you can use for measurement and experimentation. Make switches that are at least 4 inches (10 cm) wide enough to be effective.[5]
The swatch will tell you how your yarn works with the specific sewing and knitting needles you’re using, and you can use the swatch to determine what you need for your project. How many rows and stitches will be required?
Keep all the switches you make so you can refer to them later if needed.
It is best to repeat your stitch pattern at least twice on the switch for an accurate test.
- Block your switches to see what happens to them in water or steam. Blocking is when you wet, steam or iron your swatch, depending on what the item will be, so you can test the yarn and see how it reacts. Is. Once your switches are done, wash and dry them so you know how your project will perform after use. If your yarn shrinks or stretches, you’ll know you need to adjust your pattern to add more stitches or remove some.
Treat your swatch like you would your last made item.
- Measure your swatch stitches and rows to plan your project. Use your switch as a gauge for your actual project. For example, use a regular knit swatch to find how many stitches are in 4 inches (10 cm), and then multiply that by the expected length of your project to find out how many stitches you need. How many total stitches will be needed?
If you’re measuring in centimeters, it’s easiest to measure stitches per 10 cm (3.9 inches).
Method 3:
Designing the Pattern
- Give a brief description of the project. Write down what the pattern will do and give a few more details to help the person using the pattern decide if it’s right for them, such as what the item might be used for. Tell them how difficult or easy the pattern is and how long it takes to make the item.
For example, you could write, “This pattern makes a baby blanket that is 2.5 by 2.5 feet (0.76 by 0.76 meters). This is a great pattern for beginners and takes only 3 hours to complete.” “
Add any tips that would be helpful when they are using the pattern as well.
Tell what kind of thread and needles to use. Be specific when you list the type of needles, keeping exactly the size you recommend for the pattern. Also write down the type of yarn you used, noting the specific brand and how much yarn it will take to complete the entire project.
You can also suggest some alternative yarns that would work well with this project as well.
You might say, “Use a 10-inch (25 cm) long needle with a 4.5 mm (0.18 inch) gauge.
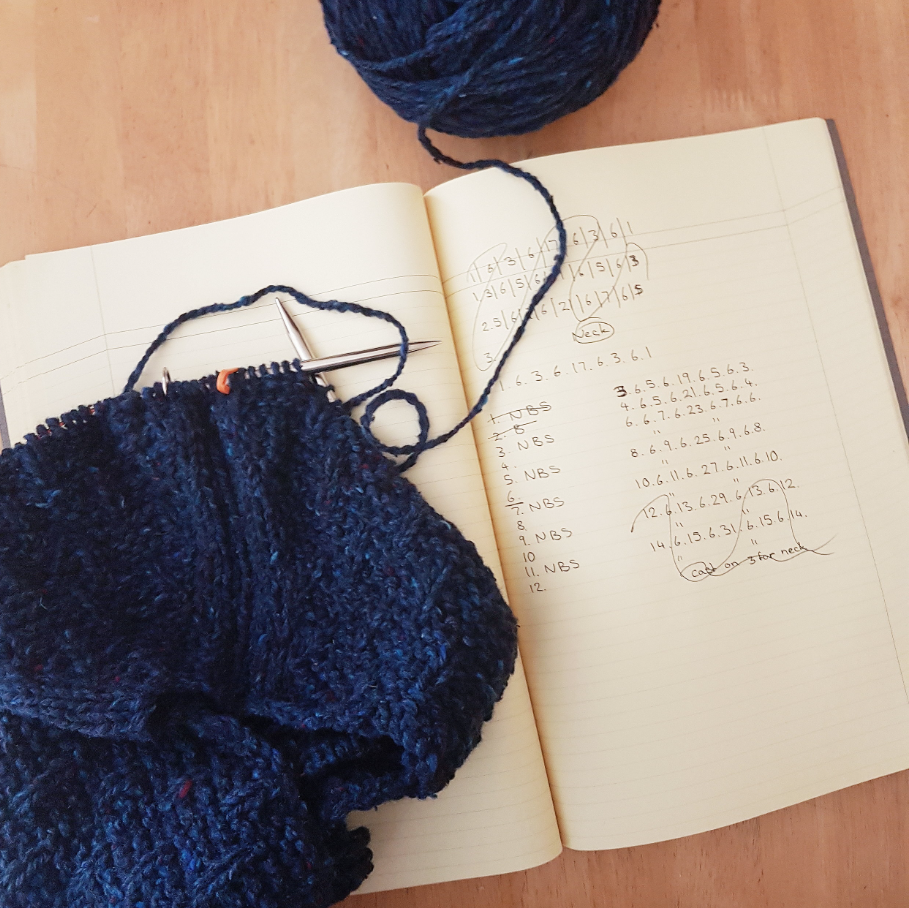
- Specify how many stitches are knitted per row. Write the number of each row and how many stitches there are in the row with that number. This is one of the most important parts of the pattern, so make sure it’s as accurate as possible.
For example, you might write, “Row 10: 17 stitches.”
Note what type of stitch to use for each row. The simplest stitch is the knit stitch, but your pattern may include others such as rib stitch, cable stitch, or pearl stitch. Write the specific stitch type right next to the row number. If there are several different types of stitches in the row, write down how many stitches there are in each row.
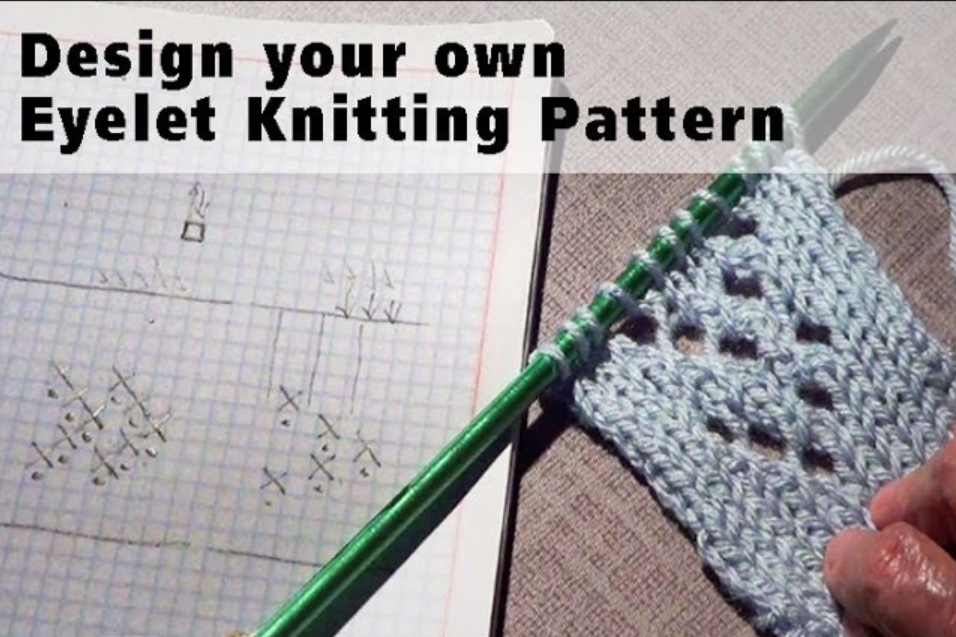
- Draw your pattern on graph paper for a visual representation. Pretend you’re building using graph paper and place each box on the paper to represent a stitch. Start at the bottom of the paper and mark each box in a horizontal line to show the number and type of stitch used in the pattern. For example, if there are 14 total stitches in a row, start at the bottom left of the graph paper and mark the 14 boxes to show the stitches.
You can draw an ‘X’ in the box to represent a knit stitch in the pattern, or a dot in the box to represent a crossover stitch.
Mark your next row of stitches above the first row.
- Use an online program to design patterns quickly and easily. Using an online knitting pattern website is similar to using regular graph paper in that you mark the grid to show your number of stitches and rows. Instead of marking each box with a pencil, fill in the boxes online using the keyboard.
There are several different websites you can visit that will create your knitting pattern for you in this way.
It’s also easy to copy graph paper into a regular online document to create the pattern yourself.
Making your pattern online makes it easy to change it if needed.
- Describe your pattern in words row by row for a detailed approach. If you decide to write out your entire pattern instead of graphing it, be very detailed and explain each stitch you use and how many. Explain how the knitter starts and walk them through each step and each row. For example, you might say, “Cast on 20 stitches and knit using regular stitch for 7 rows.”
See professional knitting patterns for more examples of this.
- Test the pattern by making it completely. Once you’ve sketched out your idea and written down the pattern, it’s time to put your plan into action. Knit the entire piece until it’s done, taking notes of things you could do differently or things that worked well. Once you’re completely finished, you can critique your piece to see if your pattern was helpful enough.
Expect to find things you want to change while knitting, and even after you’re done, to make your project even better.
Once you’re done adding to the pattern, take photos of the project.
How To Create Knitting Patterns: Schedule
- Day 1: Know Your Limits & Tools (And How To Beat These Limits) – this article
- Day 2: All About Inspiration: Where Do Your Ideas Come From?
- Day 3: Yarn Selection & Pattern Category (With Exercise)
- Day 4: Design Elements: Lace, Cables, … Or Plain Stockinette?
- Day 5: Knitting Swatches
- Day 6: Obey Math! (How To Overcome To Most Prominent Phobia: Calculations)
- Day 7: Your First Pattern Draft
- Day 8: Sample Knitting
- Day 9: Test Knitting (Or Why You Should Not Test Your Own Patterns)
- Day 10: Fine Tuning: Revise & Refine Your Pattern Draft
- Day 11: It Looks So Pretty: The Importance Of Pattern Photography
- Day 12: Knitting Pattern Templates (Including Examples & Downloads)
- Day 13: Quality Control: What Makes a Pattern A Good Pattern?
- Day 14: The Knitting Pattern Checklist
- Day 15: Publishing Your Pattern
- Day 16: What Now? (Final Remarks, Conclusions and Further Reading)